Gluten-Free Sourdough Starter (Easy 14-Day Step-by-Step Guide)
Starting a gluten-free sourdough starter can feel like a lot at first—but it really doesn’t have to be. This is the condensed method I use and teach inside Cooking With Kimmy GF. It’s simple, consistent, and built for real kitchens—not perfection.
Around here, we focus on slow baking, steady growth, and learning what works for your environment—because gluten-free sourdough isn’t one-size-fits-all.
If you’re brand new, I recommend browsing all my Gluten-Free Sourdough 101 posts to gain a good understanding of the basics.
You can download your pdf copy of the guide below, or sign up here for my free 14 day email series, walking you through day by day.
Before You Start
A few things matter more than anything else:
- Temperature: Keep your starter between 75–82°F
- Consistency: Thick pancake or brownie batter
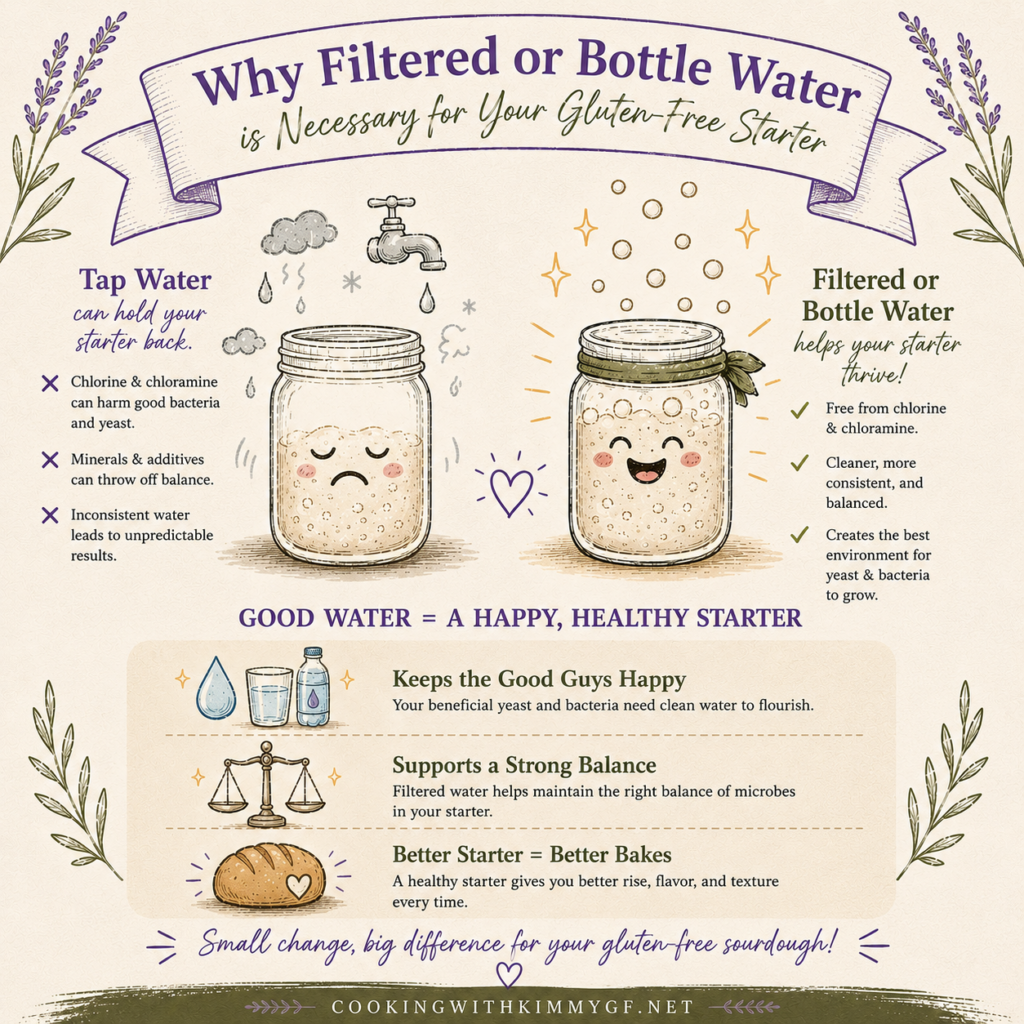
- Water: Filtered or bottled only (not tap)
- Flour: Any gluten-free grain flour (avoid nut flours)
If you’re unsure which flour to use, check out my guide on choosing the best gluten-free flour for your starter.

Day 1: Start Your Starter
In a clean jar, mix:
- 10g gluten-free flour
- 10g lukewarm filtered water
Stir until smooth, cover loosely (do NOT seal tightly), and let sit for 24 hours in a warm place.
Nothing exciting yet—and that’s normal.
Day 2: Feed (No Discard Yet)
Add directly to your jar:
- 20g gluten-free flour
- 20g water
Mix well and let sit another 24 hours.
You may not see much activity yet. That’s completely normal.
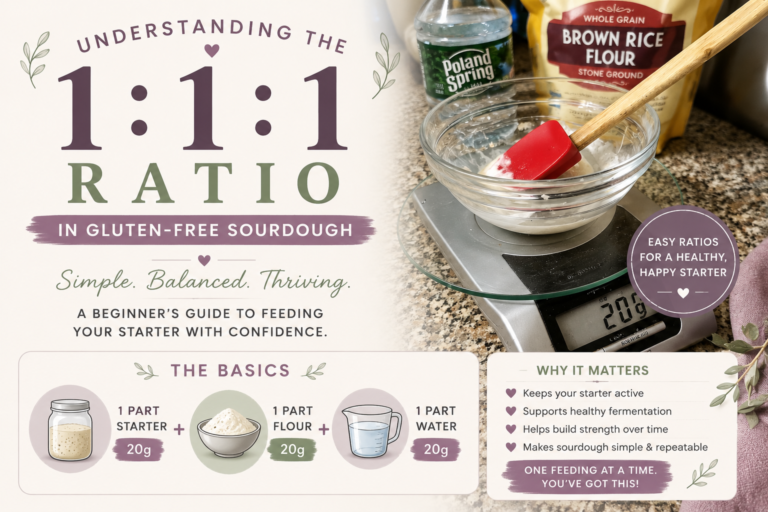
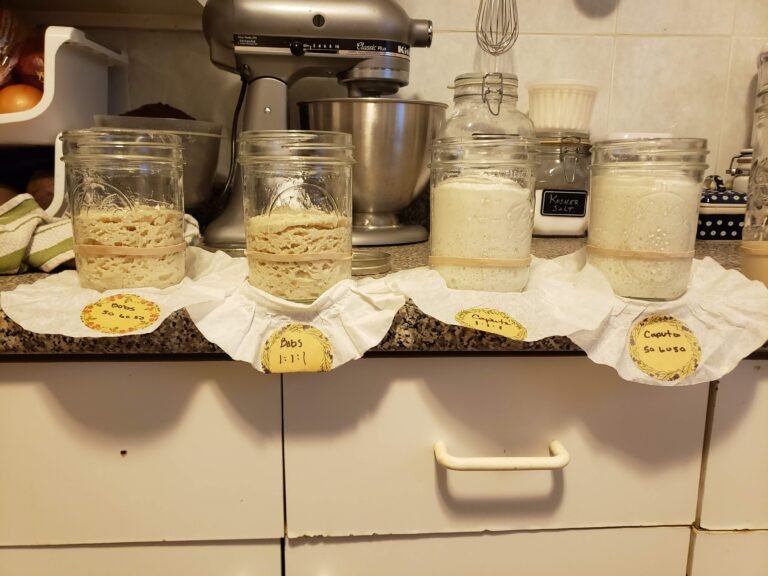
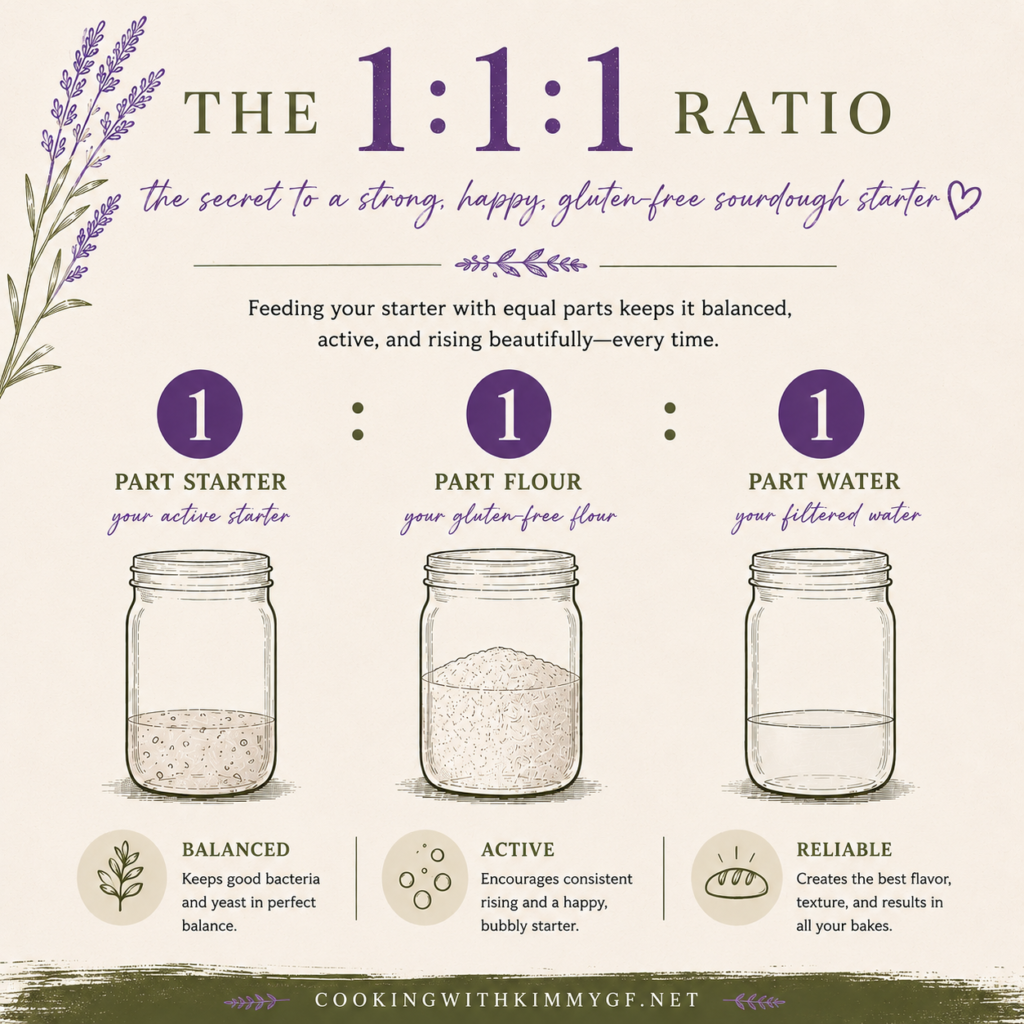
Day 3: Begin 1:1:1 Feedings
Now we start building strength.
First, discard everything except:
- 20g starter
Then feed:
- 20g starter
- 20g gluten-free flour
- 20g water
Mix well and adjust if needed to keep a thick, slow-pour consistency.
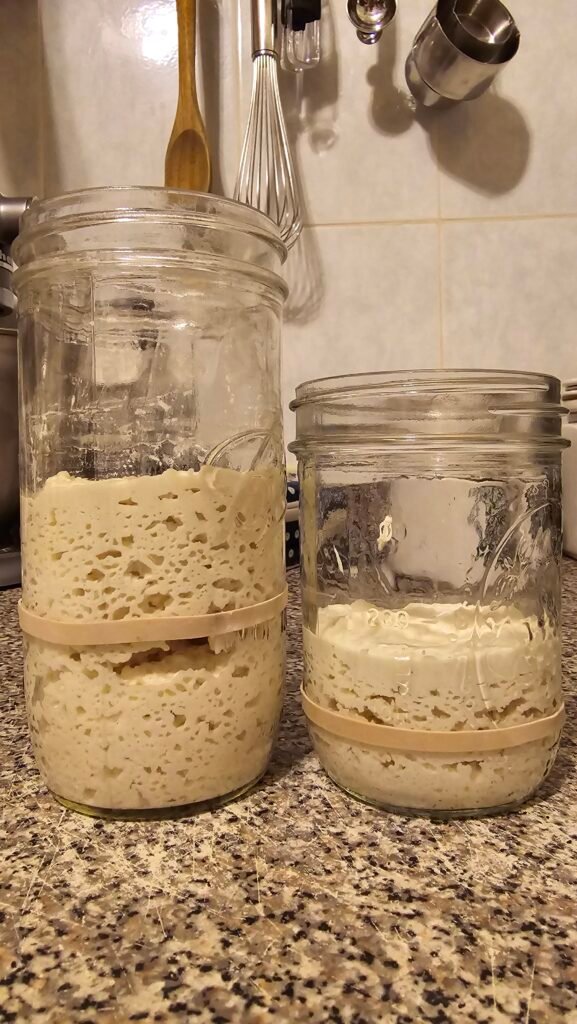
Mark the side of your jar so you can track how much it rises.
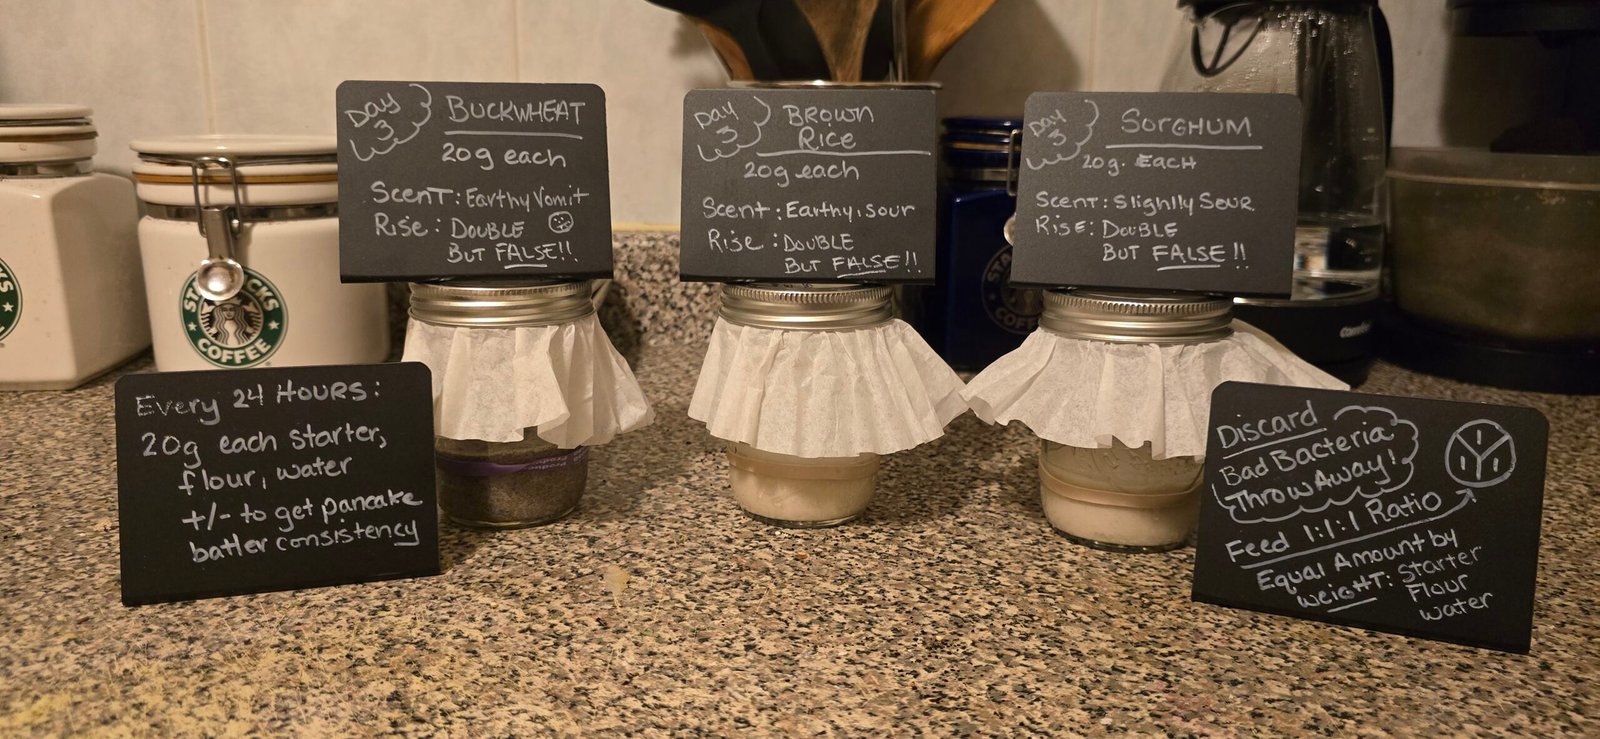
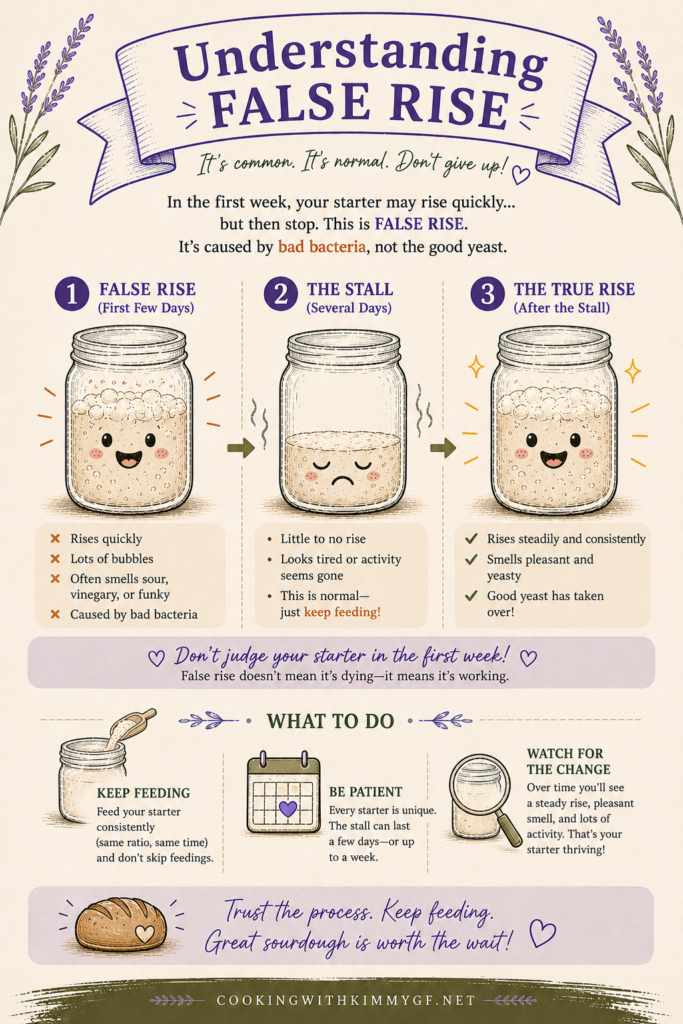
Important: If you see bubbling or rising already, it’s likely a “false rise.” It looks exciting, but it’s just early-stage bacteria—not your true sourdough culture yet.
Days 4–7: Stay Consistent
Each day:
- Discard down to 20g starter
- Feed 20g flour + 20g water
- Repeat every 24 hours
At some point, your starter may seem to stall or go quiet. This is actually a good sign—it means the good bacteria and yeast are taking over.
If the stall lasts more than a couple days, you can add:
- 1–2 drops of honey, maple syrup, or apple juice
Think of it as a little boost.
Days 8–14: Watch for Progress
Continue the same routine:
- 20g starter
- 20g gluten-free flour
- 20g water
Now you should start noticing:
- Better, more consistent rise
- A shift in smell (less harsh, more tangy/yeasty)
- A stronger, more stable starter
You can now start saving your discard in the fridge and using it in recipes. If you need ideas, check out my gluten-free sourdough discard recipes.
If your starter smells strongly like acetone (nail polish remover), it’s hungry. Increase the feed slightly:
Example: 20g starter : 30g flour : 30g water
How to Know When Your Starter Is Ready
Your gluten-free sourdough starter is ready when:
- It’s at least 14 days old
- It rises within 8 hours after feeding
- It does this consistently for 3 days in a row
That’s your green light to start baking. Just keep in mind it will be young and weak – many starters do not perform well in bakes until day 30+, so don’t get discouraged if your first attempt seems less than ideal!
After Day 14
Keep feeding daily and expect continued improvement over the next 6–8 weeks.
Even though you can bake now, your starter will keep getting stronger—better rise, better texture, better flavor.
When you’re ready, try my gluten-free sourdough boule recipe for your first loaf.
Important Tips
Feed by Weight (Not Cups)
Always weigh. Most commonly referenced in grams.
A 1:1:1 ratio is the gold standard for establishing starters – this means equal parts by weight—not equal volume (cups).
Example:
If you have 20g starter, add 20g of flour and 20g of water.
Many recipes out there call for equal volume – which I strongly advise against!
Water weighs more by volume than flour.
A common recipe, especially with dehydrated starters bough online, call for 1/4 cup of each.
However – by weight that equates to about 40g of starter, 50g of water, and 25g of flour!
The result will be overhydrated, runny starter that is weak and more susceptible to mold and bacteria.
If you have a dehydrated starter, follow the daily feed guide here instead – your starter will thank you!
Keep It Warm
75–82°F is ideal.
Too cold slows everything down. Too hot (over 85°F) can damage or kill your starter.
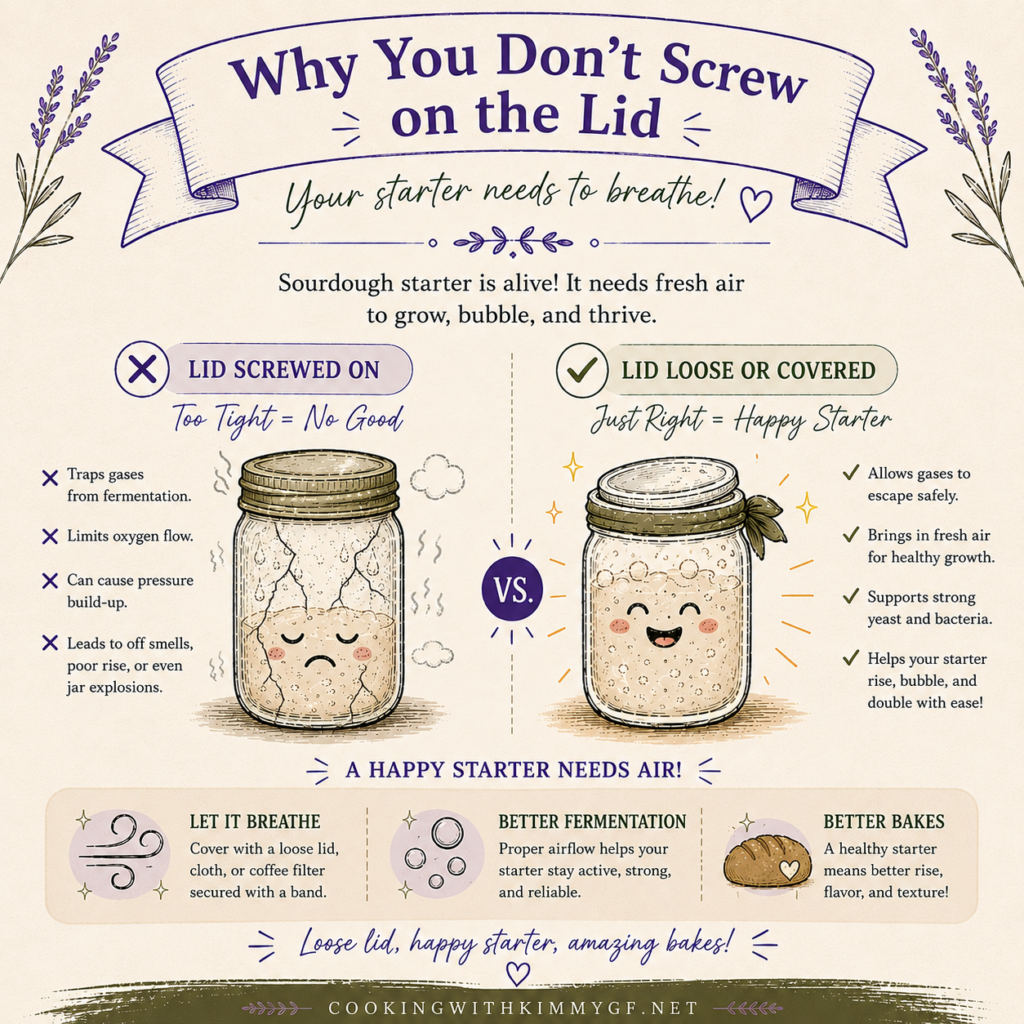
Don’t Seal the Jar
Keep the lid loose (set on top, do not screw down) to prevent pressure buildup.
A loosely placed lid or coffee filter works well too.
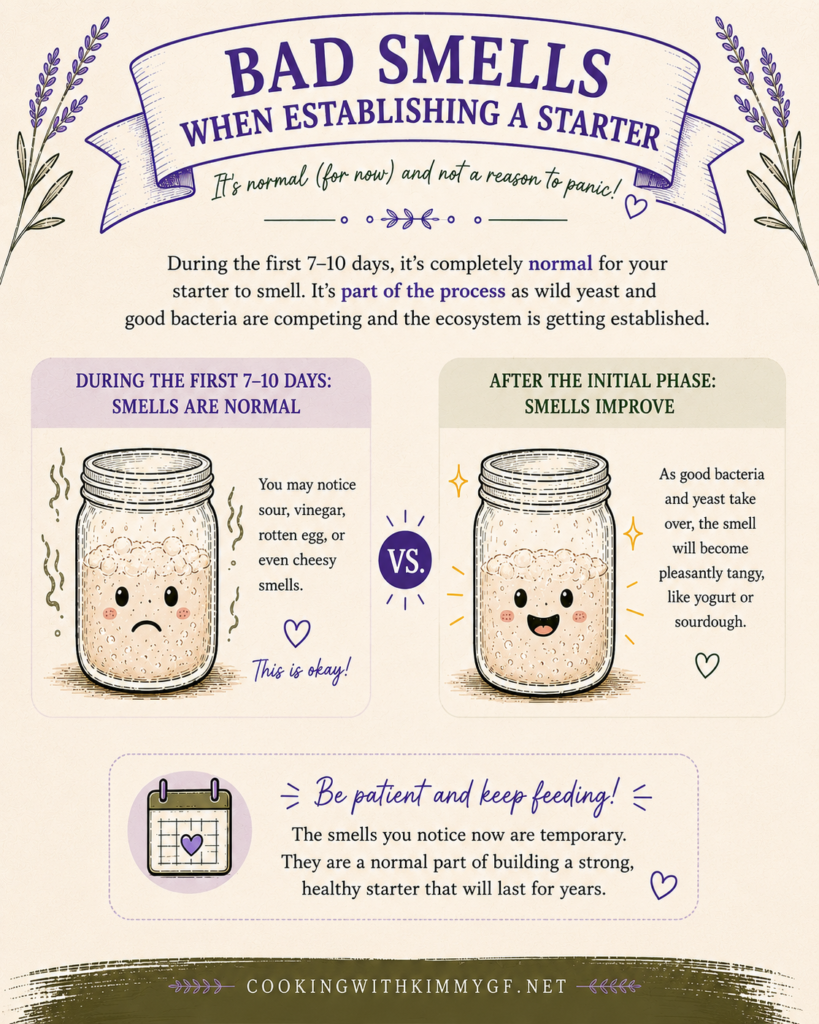
Expect Weird Smells at First
Early smells can include:
- Sour milk
- Gym socks
- Acetone
It’s not pleasant—but it’s normal.
A clean, slightly tangy, yeasty smell will develop later.
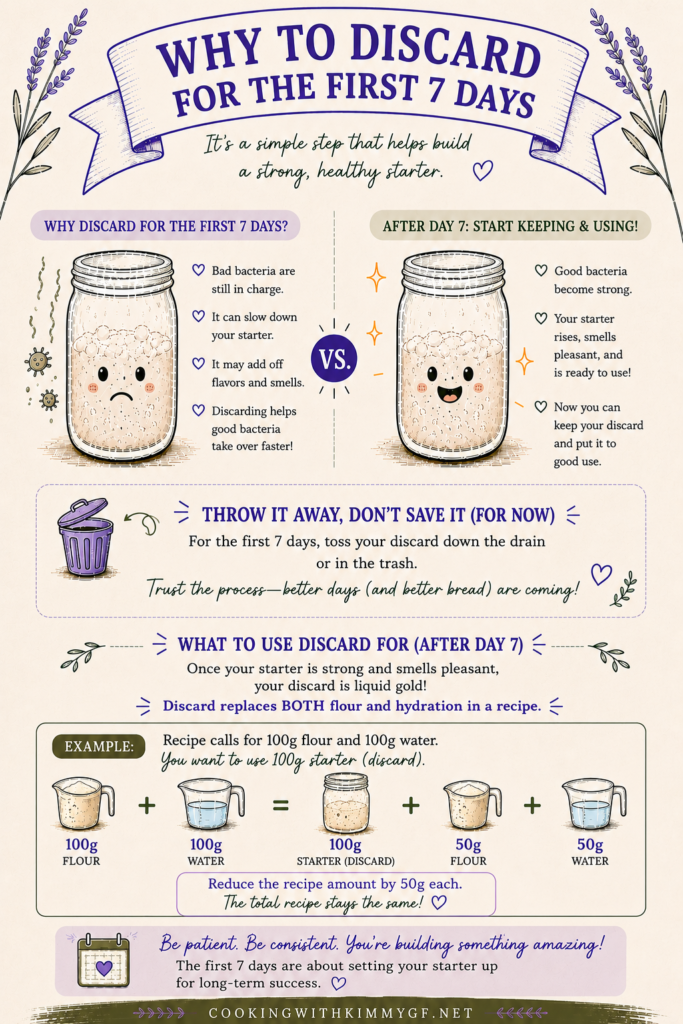
A Quick Note on Discard
- Days 1–7: Throw it away (not safe yet)
- After Day 8: You can start saving it
- Store discard in the fridge
- Use it in discard recipes only (it does NOT replace yeast)
Final Thoughts
There’s no single “perfect” way to make a gluten-free sourdough starter.
Your kitchen, your flour, your temperature—they all play a role. That’s why learning to read your starter matters more than following rules exactly.
If something seems off, adjust. If it’s slow, give it time.
That’s the process.
And honestly? That’s the point.
Keep feeding what matters. The growth will follow.


")

")