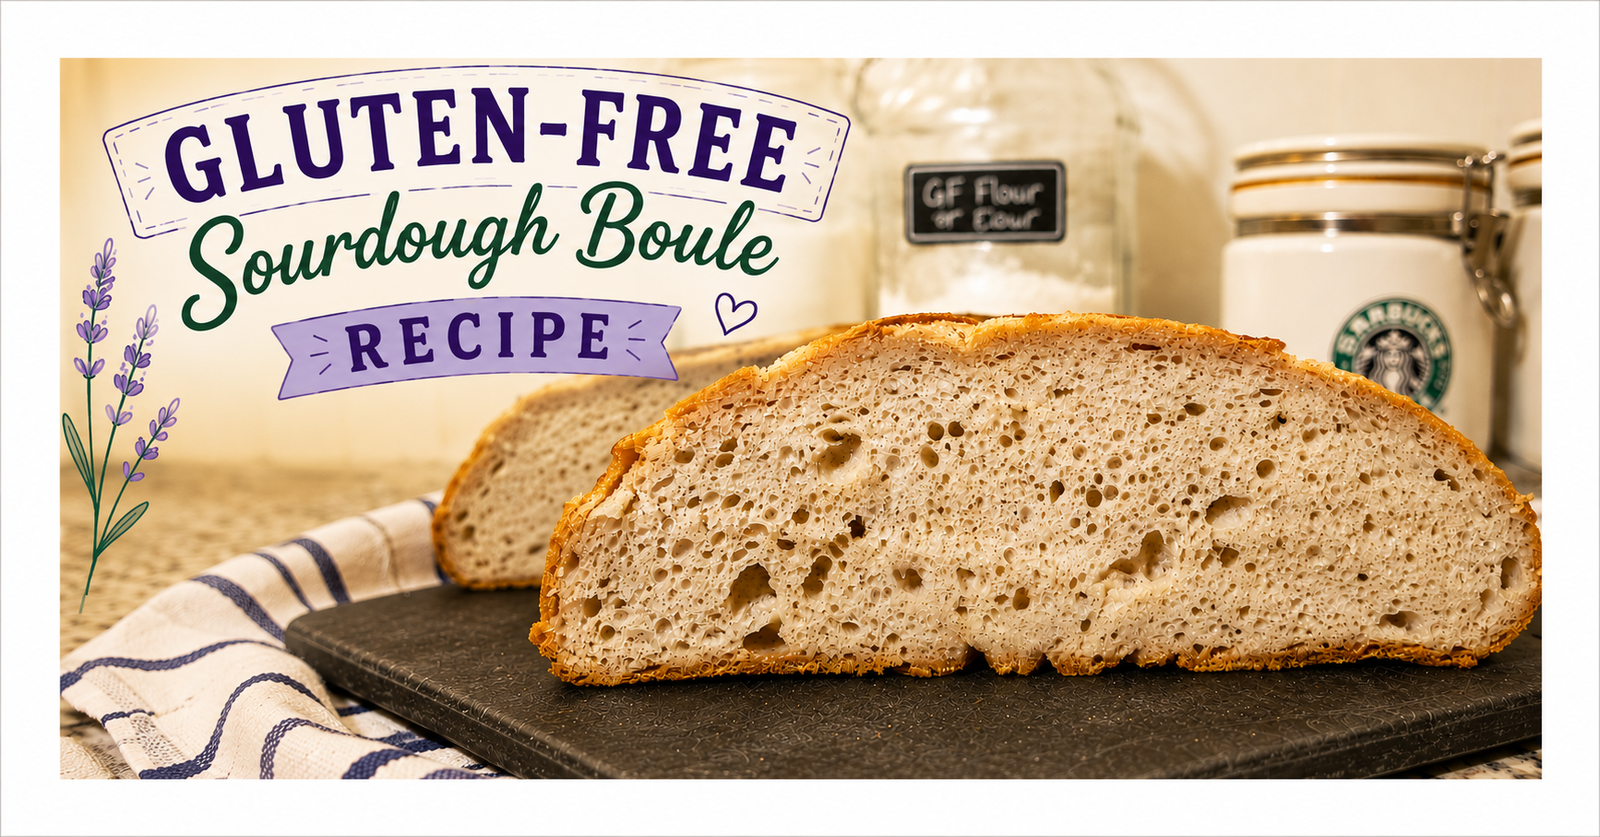
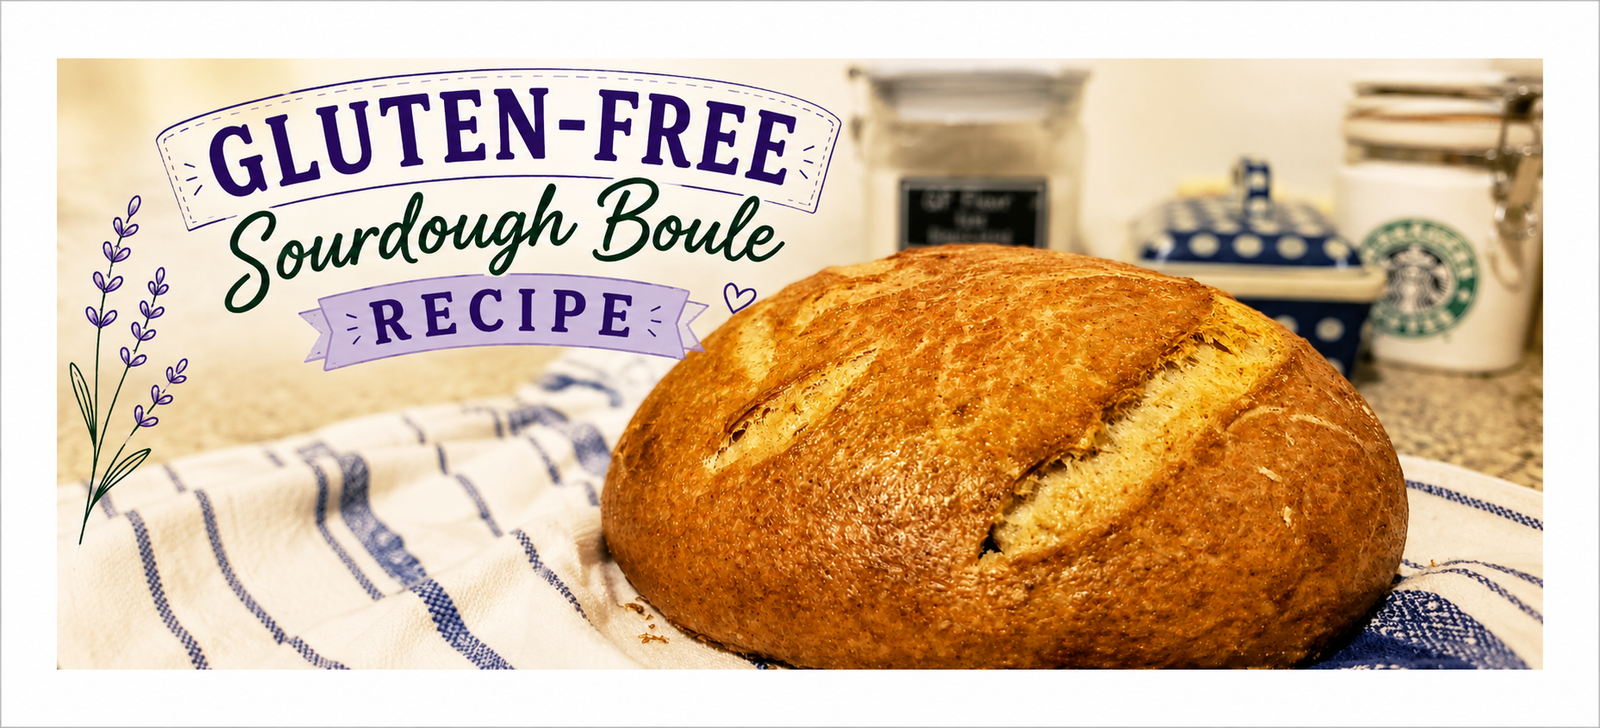
Gluten-Free Sourdough Boule (Easy, Flexible, Beginner-Friendly Recipe)
Delicious gluten, dairy and egg free sourdough loaf. Plenty of oven spring and a light airy crumb!
Jump to RecipeThis gluten-free sourdough boule is simple, flexible, and designed to actually work in a real home kitchen. If you’ve struggled with gluten-free bread before, this is a good place to start.
There’s something really satisfying about pulling a loaf of bread out of your oven—especially when it’s gluten-free and turns out the way you hoped it would. Not dry, not crumbly, not something you have to explain away. Just good bread.
That’s really where this recipe came from. Not from trying to make something perfect, but from wanting something dependable. Something you could come back to and feel like, okay, I can do this again.
Gluten-free sourdough can feel like a lot in the beginning. There’s so much information out there, and a lot of it sounds like it contradicts itself. Different methods, different flours, different rules. It’s easy to feel like you’re doing something wrong before you’ve even started.
This recipe was built to take some of that pressure off. It’s not overly strict, and it doesn’t expect everything to be exact. It gives you a structure to follow, but still leaves room for your starter, your kitchen, and your ingredients to do what they naturally do.
Because they will.
Your starter will change as it gets stronger. Your kitchen temperature will affect how quickly things rise. The flour you use will shift the texture of your bread. None of that means failure—it’s just part of the process.
Why This Gluten-Free Sourdough Boule Works
There are a few simple things built into this recipe that help support the dough and make this gluten-free sourdough boule more reliable:
- A small amount of honey or sugar helps give the yeast something easy to feed on in the beginning
- Apple cider vinegar can help improve structure and give the dough a better overall rise
- Psyllium husk replaces the role of gluten, helping the dough hold together and keep its shape
- A bit of added protein (depending on your flour) can help strengthen the dough and support fermentation
Nothing complicated—just small adjustments that make a noticeable difference.
Choosing the Right Gluten-Free Flour
Flour choice is usually where people get stuck, and that makes sense. Gluten-free flours behave very differently from each other, and even pre-made blends can give you completely different results.
Some will produce a lighter loaf.
Some will be a bit more dense or moist.
There isn’t one perfect option for a gluten-free sourdough boule. What matters more is consistency and learning how your flour behaves over time. Once you find something that works in your kitchen, everything starts to feel easier.
This recipe does best (as do most) with a flour that uses GF wheat starch (see more on that below).
It has also been done successfully with the following wheat free flour blends: King Arthur 1:1, King Arthur All Purpose, Namaste, Cup4Cup, and Pamela’s.
👉 If you’re still figuring out which flour to use, start here:
Choosing a Gluten-Free Flour for Your Starter
A Quick Note on Gluten-Free Wheat Starch
You might come across gluten-free flour blends that include gluten-free wheat starch. It’s considered safe under gluten-free standards, but it’s not for everyone.
- Not safe for wheat allergies
- Tolerance varies for those with celiac disease
It’s just something to be aware of so you can make the choice that feels right for you.
What to Expect as You Learn Gluten-Free Sourdough
At the end of the day, this recipe isn’t really about getting a perfect loaf. It’s about getting comfortable with the process.
Learning your starter.
Paying attention to your dough.
Figuring out what works in your kitchen.
If you’re new to this, I recommend starting with your foundation first:
👉 Sourdough Starter Guide
👉 Gluten-Free Sourdough 101 Posts
That’s what builds consistency over time.
Keep Feeding What Matters
If your first gluten-free sourdough boule isn’t exactly what you hoped for, that’s normal. If it’s a little dense or doesn’t rise as much as you expected, that still counts.
Every bake teaches you something—even the ones that don’t turn out quite right.
Keep showing up. Keep feeding your starter. Keep learning what works.
Keep feeding what matters.
Videos
GF Sourdough Boule
Ingredients
- 265 g sourdough starter at peak
- 280 g water warmed to 112℉
- 12 g psyllium husk powder blonde, to avoid purple
- 5 g active yeast (optional) use if starter is less than 30 days. Omit for older, stronger starters
- 10 g honey
- 1 Tbsp apple cider vinegar can increase to 2 Tbsp if you want to also enhance the sour flavor
- 20 g olive oil
- 320 g Caputo Fioreglut or KA Bread Flour other GF flour blends may work, see list in description
- 40 g Almond Flour fine ground – I use Bob's Red Mill
- 1 Tbsp Nutritional Yeast Optional, but adds protein and helps with structure
- 2 tsp baking powder be sure it is double acting
- 12 g kosher sea salt do not use iodized
Equipment
- 1 Cast Iron Dutch Oven (non-enameled) 3qt is ideal, 5 qt works too
- Small Glass Mixing Bowl a smaller bowl keeps the dough ball tight
- Proofing Cloth or Tea Towel for the bowl
- Stand Mixer Can be done by hand, but double the mixing time
- Bread Sling or Parchment Paper If using parchment paper be sure it is rated for high temp
- Bench Scraper Useful but optional
Method
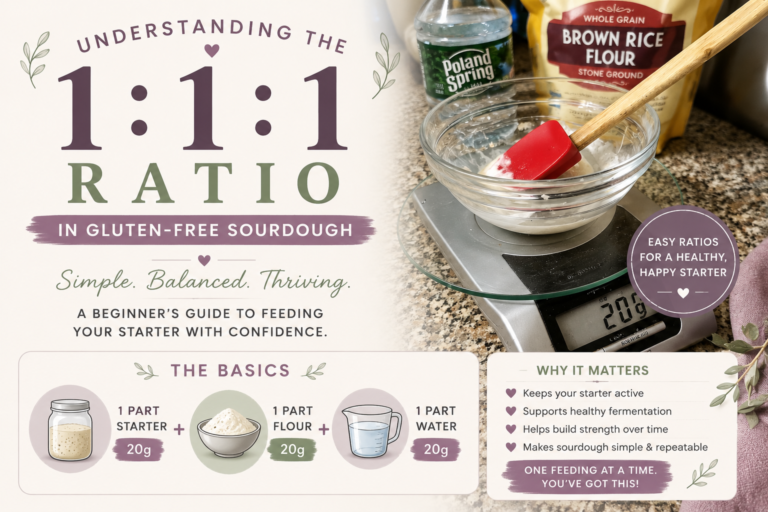
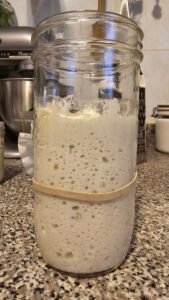
- In the morning, feed your starter enough to create the 265g for the recipe, plus additional to account for what is absorbed/evaporated and enough to maintain for future bakes. A total of 350g is a good number to go for.
- Once it has peaked (or just prior) it is ready to mix.
- Warm 200g water to 112°f
- Whisk in gel, being careful to break up any lumps
- Set aside 10-15 minutes to gel
- Remove any remaining lumps before adding to other ingredients
- Warm the remaining 130g water to 112°f
- Add honey and yeast, stir
- Set aside for 5 minutes
- If top is foamy the yeast is good and ready to be added to other ingredients.
- If no or very little foam the yeast is likely no good. Omit or repeat this step using a fresh jar or packet.
- To large mixing bowl add all wet ingredients: peaked starter, psyllium gel, proofed yeast (or water/honey), olive oil and apple cider vinegar.
- Use paddle attachment to mix until well blended.
- Change to dough hook
- In a large bowl, sift or whisk together all dry ingredients: Flours, baking powder, nutritional yeast, salt.
- Turn mixer onto low, slowly add dry ingredients to wet.
- Once all is incorporated stop the mixer. Scrape sides of bowl down with spatula
- Increase speed to medium, mix for 5 minutes.
- Place dough onto floured surface, it will be sticky!
- Gently knead in more flour, a few grams at a time, until the dough is no longer wet. It should be mildly tacky but manageable, and will hold it's shape for a few seconds.
- Gently shape into a tight small ball
- Fold dough in half, turn, fold in half again.
- Stretch each side into the center, pinching to seal.
- Repeat if needed to create a small tight round ball.
- Lightly flour if needed to prevent too much sticking.
- Prepare a bowl for proofing by lining it with a tea towel or proofing cloth.
- Dust the cloth with white rice flour
- Gently lift dough and place it in the bowl, seam side up.
- Oil hands generously with olive oil and pat the exterior of the dough. This helps keep the dough soft as the liquid evaporates, makes a softer crust when baking.
- Cover with another tea towel and place in a warm location (75-80°f is ideal)
- Depending on how warm the location and how active your starter/yeast is it can take anywhere from 2-5 hours to proof, sometimes longer. The top should be starting to dome.
- Once dough is proofed, it is time to do a final shape.
- Remove the towel, dust with white rice flour, and place your parchment paper or bread sling on top of the bread (the visible part of the dough will become the botton of your loaf).
- Very gently invert and place on the counter
- Tighten the loaf by gently tucking the sides under towards the center.
- Place in freezer while the oven and Dutch Oven preheats
- Once proofed dough is placed in the freezer, begin pre-heating the oven & Dutch Oven to 500°f
- After 30 minutes, gently remove the dough from the freezer.
- Sprinkle liberally with white rice flour, if desired, and score.
- Reduce heat of oven to 450°f and remove DO.
- Liberally spritz the top of your dough with water, toss in a couple of ice cubes (only if using non-enameled DO) then quickly lower your dough in and place lid to trap steam.
- Bake 40 minutes covered, then remove from the oven.
- Reduce temp to 425° and gently return bread only directly on the rack.
- Continue baking additional 20 minutes, or until the internal temp of the bread reaches 210°f.
- Place on a cooling rack and allow to cool at least 4 hours before slicing. It will continue to develop as it sits, cutting too soon can interrupt the process and result in gummy interior.
- After 2 hours I wrap mine in a tea towel to absorb excess moisture and soften the crust.


")

")